Rachio 3 (8-zone)
WaterSense labeled smart controller. Specs
Check price on Amazon ↗Sprinkler repair
In most swaps you move each zone wire and the common wire to the new controller. Rachio says most installs take 30 minutes or less.
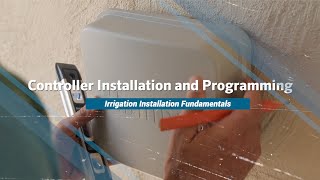 ▶ Watch howIrrigation Controller Installation and Programming ExplainedOfficial Hunter Landscape Irrigation video on YouTube ↗
Compare the three side by side → Can I install it myself? → Step-by-step install →
WaterSense labeled smart controller. Specs
Check price on Amazon ↗WaterSense labeled smart controller. Specs
Check price on Amazon ↗WaterSense labeled smart controller. Specs
Check price on Amazon ↗Affiliate links: as an Amazon Associate we earn from qualifying purchases. It doesn’t change what we list.
Pump relays and line-voltage wiring are a job for a licensed pro. The EPA suggests hiring an irrigation professional certified by a WaterSense labeled program (EPA WaterSense).
Find a pro →A few emails a year: spring startup, fall shutdown, new smart controllers, and a heads-up when your utility opens or changes a rebate.
No spam. Unsubscribe anytime. Privacy
Steps summarized from the linked manufacturer and EPA pages (checked 2026-10-18). If your valve or head brand differs, follow its manual.